Welcome! Welcome! So Excited to be blogging with these cute gals again! We are featuring some awesome bundle and save items this month! When you buy items in a bundle you save an additional 15% off! WOW!
Today, I'm sharing some creations from the Starburst Bundle (found on page 117 of the annual catalog). There are soooo many cute projects made with this bundle! It has become one of my favs!
For my first project I thought it would be fun to get you all in the spirit of 4th of july!
Oh, Happy Day! Celebrate Freedom Card

....a little closer look

...on the inside

Stamps
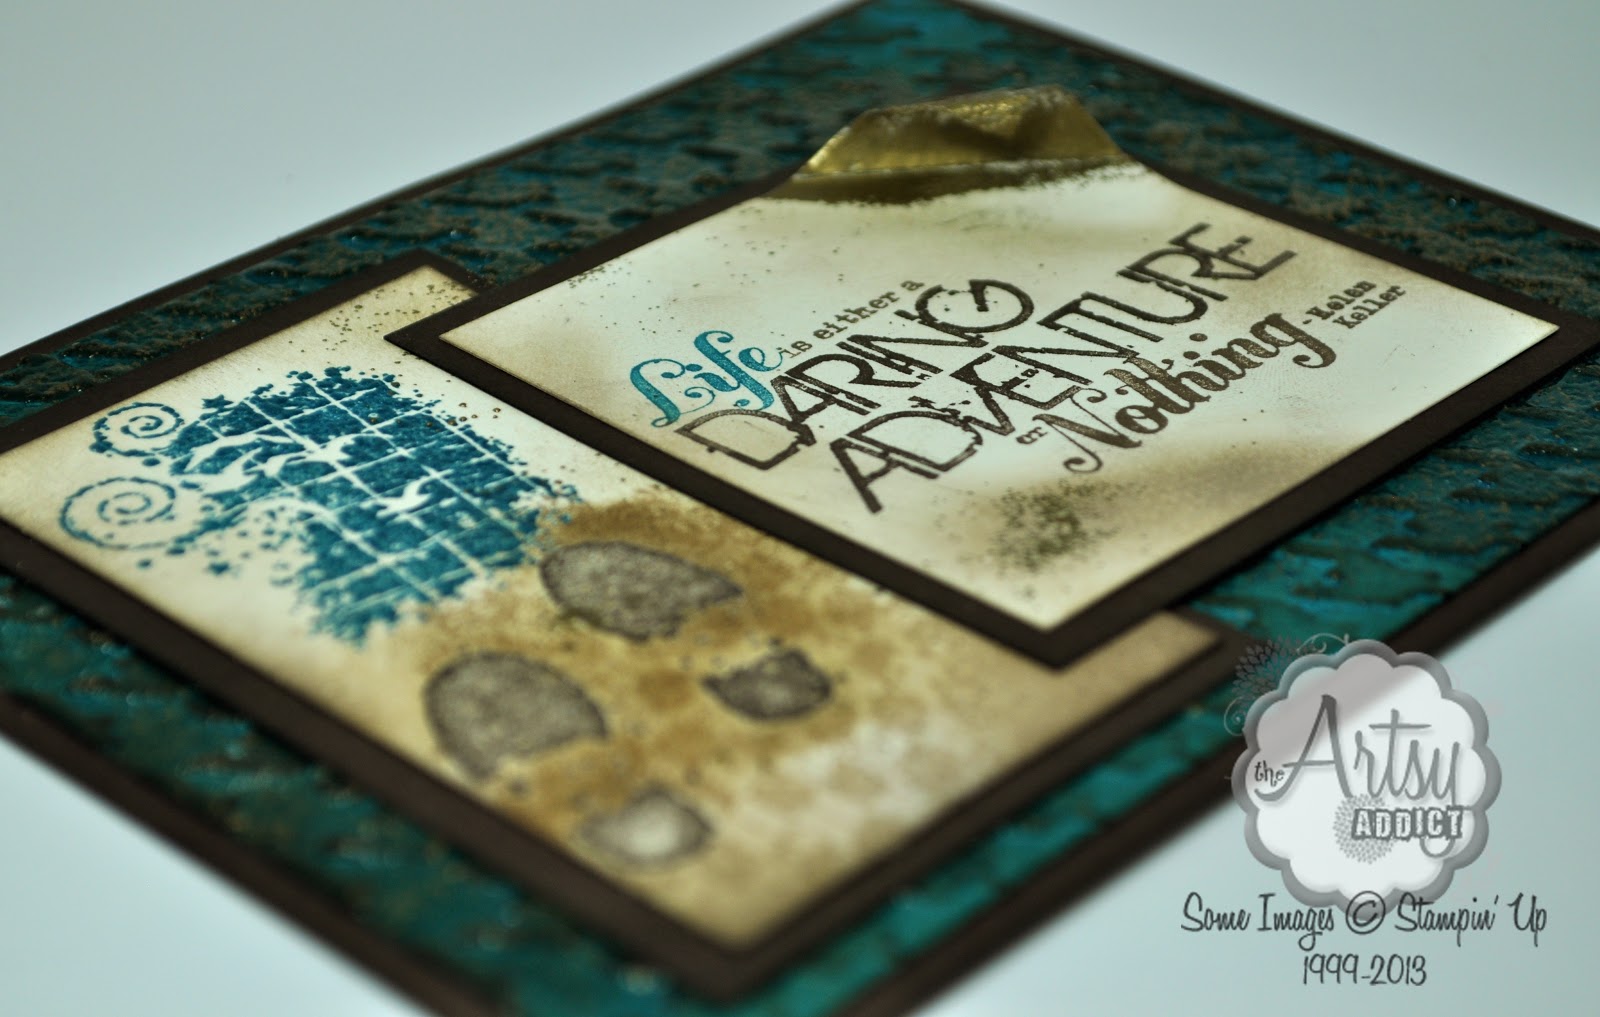
Starburst Sayings - 133185 pg. 117
Framelits, Embosslits, Dies, Punches, and Embossing
Starbursts Framelits - 132967 - pg. 231
*New* Little Pieces Embosslits - 133733 pg. 229
*New* Little Letters - 133730 - pg. 228
Chevron Border Pumch - 132154 - pg. 222
Arrows Embossing Folder - 132187 - pg. 226
Papers and Cardstocks
Very Vanilla Cardstock - 101650 - pg. 183
Real Red Cardstock - 102482 - pg. 180
Night of Navy Cardstock - 100867 - pg. 182
Backgrounds Designer Series Paper pg.185
Brights - 130134
Regals - 130139
Ink
Real Red Pad - 126949 - pg. 180
Night of Navy - 126970 - pg. 182
Real Red Marker - 100052 - pg. 180
Night of Navy Marker - 100069 - pg. 182
Accessories
Rhinestone Basic Jewels - 119246 - pg. 209
Tools & Other Supplies
Big Shot Die-Cutting - 113439 - pg. 215
Stampin' Trimmer - 126889 - pg. 216
Tiny Wave Rotary Cutting Blade - 129409 - pg. 217
Paper Snips - 103579 - pg. 215
Stamping Sponge - 101610 - pg. 210
Stampin; Dimensionals - 104430 - pg.204
*New* - Fast Fuse Adhesive - 129026 pg. 204 - This is the amazing sticky strip in a dispenser. Love it!

....from the side

Stamps
Starburst Sayings - 133185 pg. 117
Positively Chevron - 130499 - pg. 175
Framelits, Embosslits, Dies, Punches, and Embossing
Starburst Framelits - 132967 - pg. 231
Designer Rosette Bigz XL - 125594 - pg. 233
Arrows Embossing Folder - 132187 - pg. 226
Stylish Stripes Embossing Folder - 132174 - 226
Chevron Embossing Folder - 127749 - pg. 226
Perfect Polka Dots Embossing Folder - 117335 - pg. 226
1" Circle Punch - 119868 - pg. 221
Papers and Cardstocks
Very Vanilla Cardstock - 101650 - pg. 183
Rich Razzleberry Cardstock - 115316 - pg. 180
Calypso Coral Cardstock - 122925 - pg. 181
Coastal Cabana Cardstock - 131297 - pg. 179
Basic Gray Cardstock - 121044 - pg. 183
Ink
Rich Razzleberry Pad - 126950 - pg. 180
Coastal Cabana Pad - 131175 - pg. 179
Calypso Coral Pad - 126983 - pg. 181
Accessories
1/8" Mini Brads - 122941 - pg. 209
Coastal Cabana Thick Baker's Twine - 135638 - pg. 207
Tools & Other Supplies
Big Shot Die-Cutting - 113439 - pg. 215
Paper Snips - 103579 - pg. 215
Stampin; Dimensionals - 104430 - pg.204
*New* - Fast Fuse Adhesive - 129026 pg. 204 - This is the amazing sticky strip in a dispenser. Love it!
Hot Glue Gun
Thanks for stopping by! Comments are always welcome!
For more inspiring projects please click the link below to see what wonderful ideas Julie has in-store for you!

WANT TO SHOP FOR ITEMS FROM MY PROJECTS?
CLICK MY BUTTON BELOW :)